"Back in the olden days" I would buy my patterns at a local store, and the pattern pieces would come printed on huge pieces of tissue paper. I was perfectly happy with that style of pattern, as I had been using them for years. But not everyone learns to sew in formal lessons like I did. (Note to self: thank Mom again for dragging me to sewing lessons.) And if you haven't learned to use that style of pattern, and read that type of instructions, they may as well be written in Greek.
Today's student learns from a plethora of YouTube videos, sewing communities on Facebook and from super-detailed PDF patterns available from hundreds of independent designers. Those vibrant communities are made up of veterans and newbies alike, and they're not afraid to try things that - GASP! - aren't in the instructions. They offer support, encouragement, and sewing tips, and the designers are available to answer questions.
A new technique that I've recently tried, is color-blocking. It is a great way to use multiple fabrics on the same pattern creating a unique look. I learned from this blog post by Peek-a-Boo Pattern Shop and couldn't wait to try it. I loved the look and have used it several times.
But I want to show you how learning to color-block made me get out of my "just follow the instructions" box gave me the confidence to try something different.
I am making the Tatum Twirl Dress right now. The bodice is made from knit fabric and has a hood option, or a neck band. The skirt has a multi-tier option (super twirly) and is made from wovens. Since I had chosen a solid color for the bodice, I wanted to jazz up the inside of the hood by lining it with one of the wovens I had chosen for the skirt. But the directions are for an all-knit hood and lining. I asked Amy Hindman, the designer behind Peek-a-Boo Pattern Shop, if the hood could be lined with a woven. She answered that it could be done, but the neck opening would lose its stretch (and not go over the wearer's head) so I would need to adjust my seam allowance, and cut the hood longer. My wheels started spinning - could I actually DO that?!
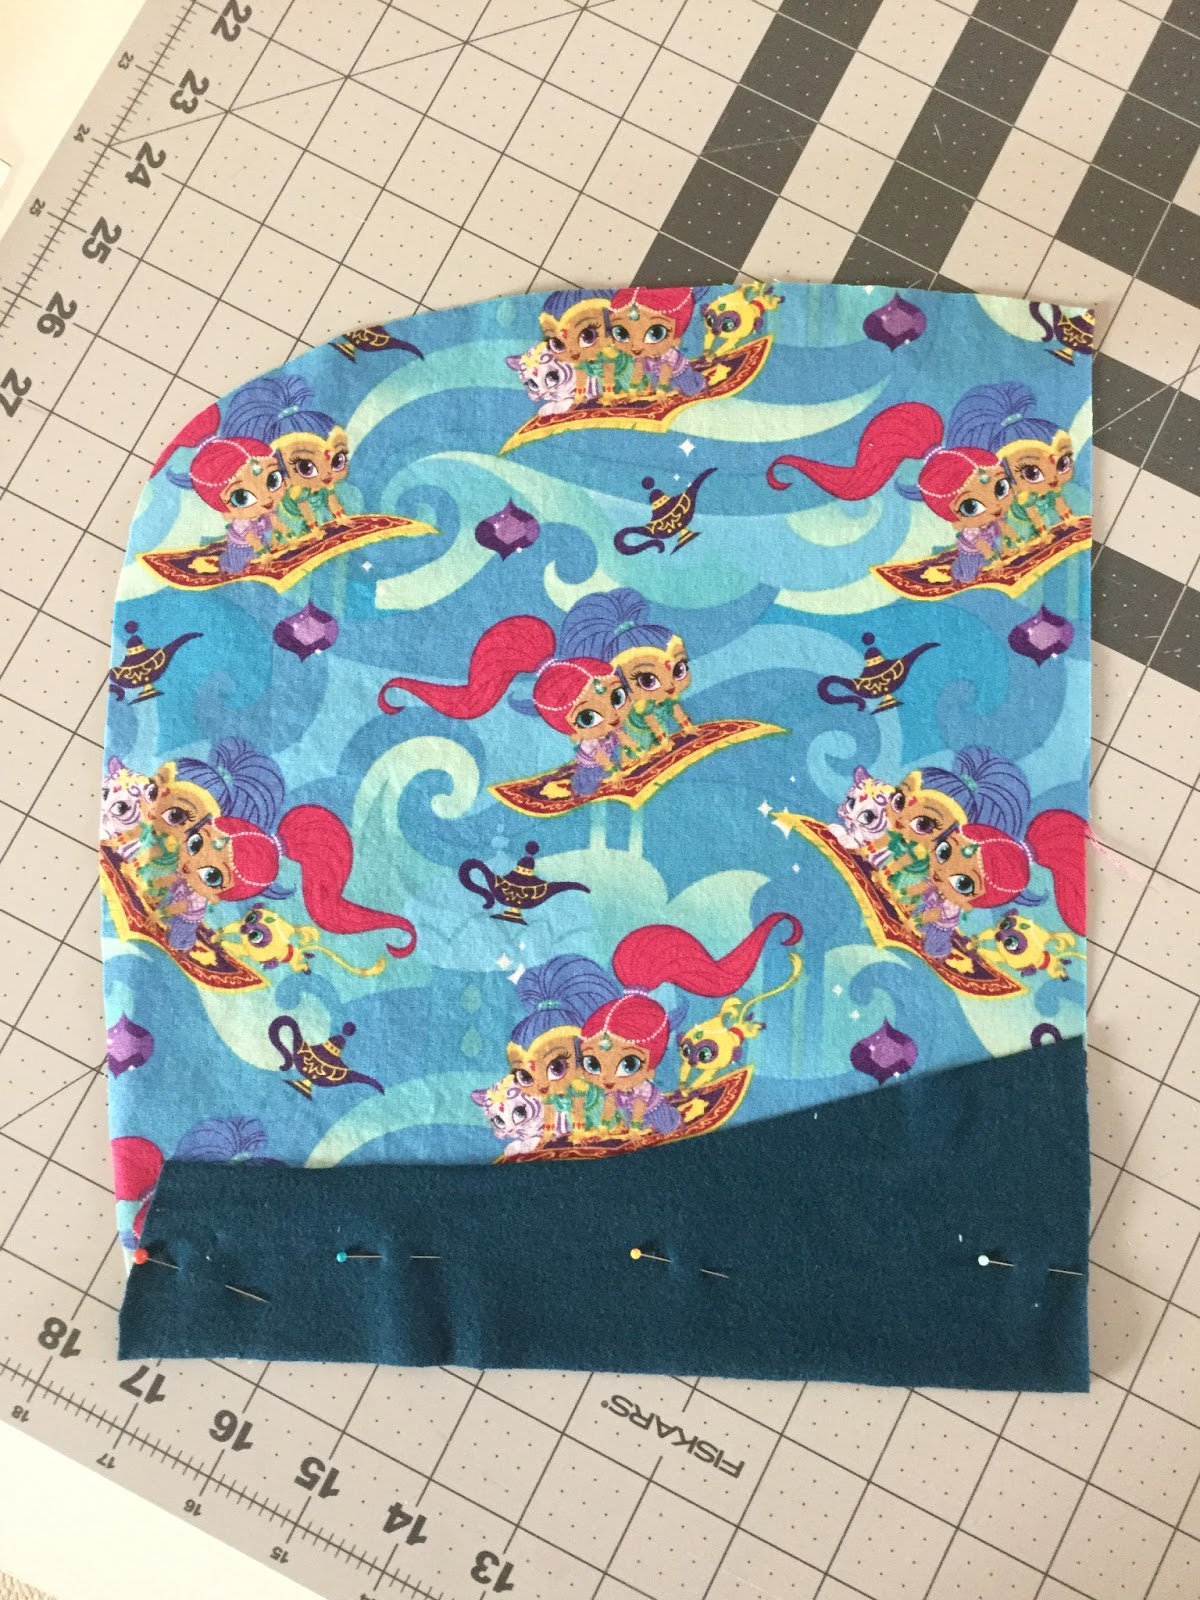
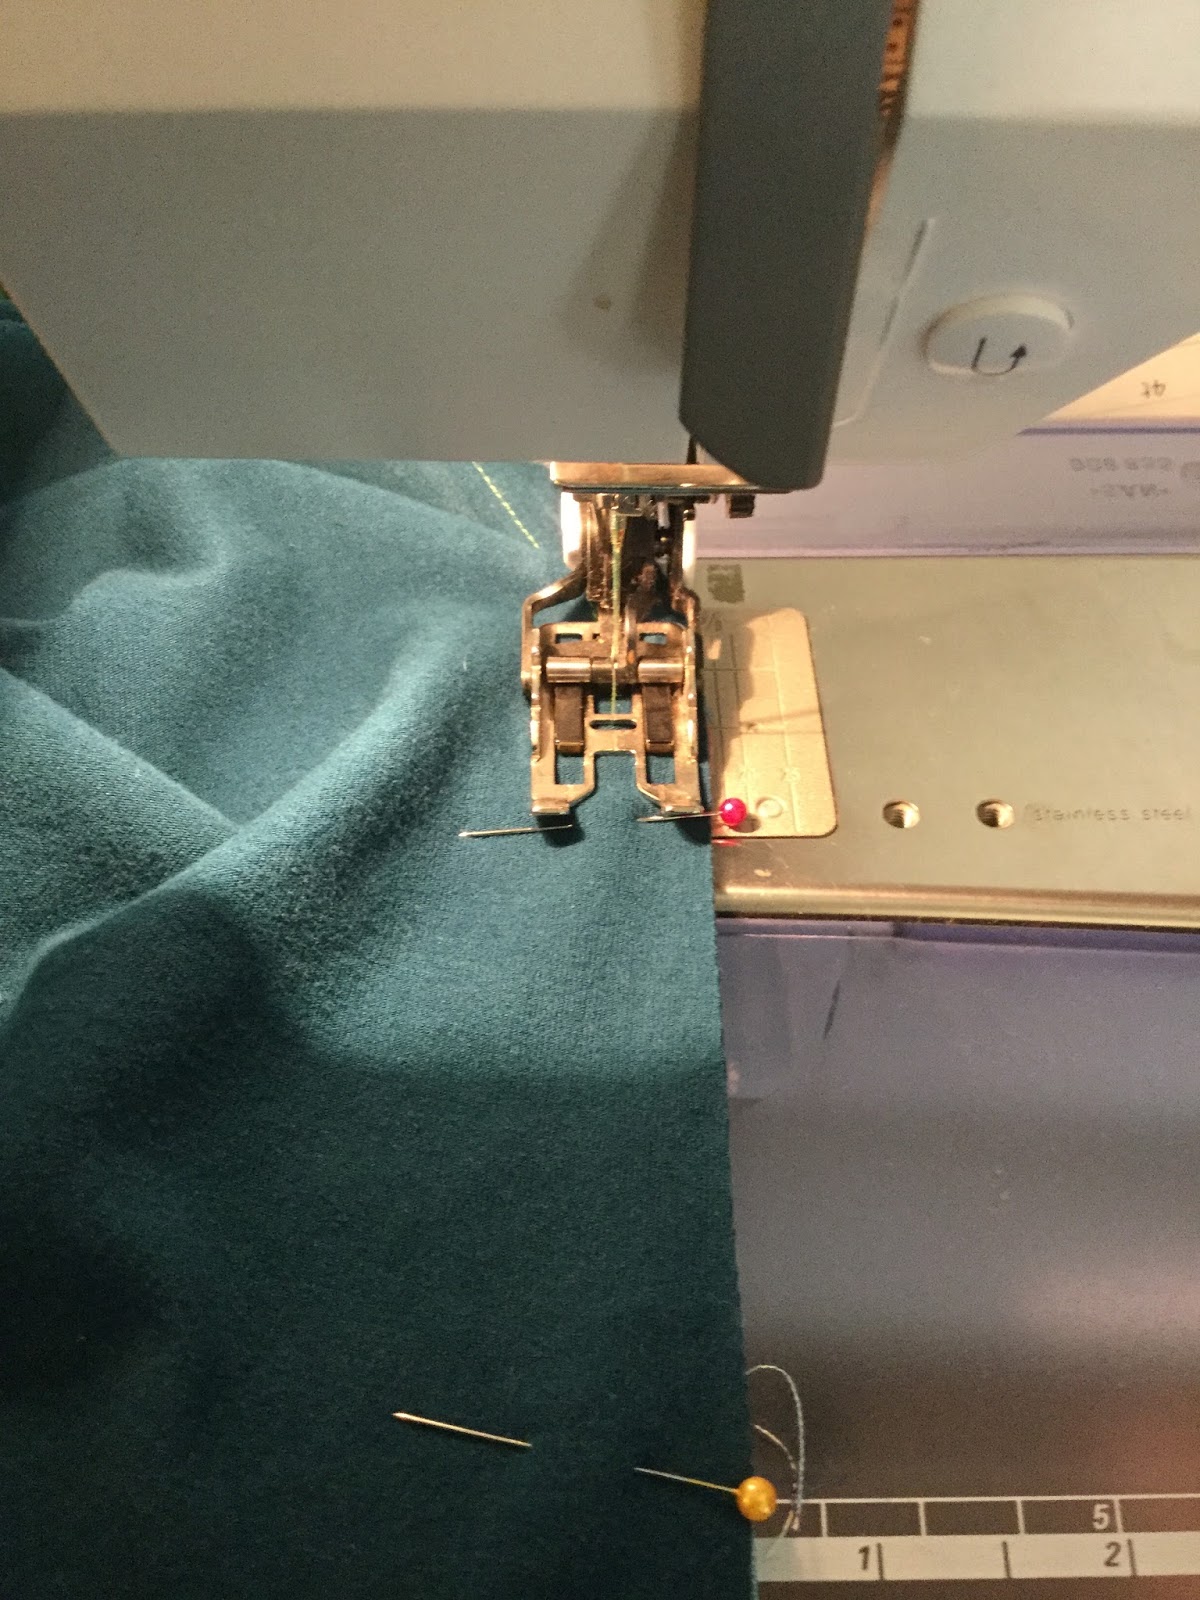
Instead of the suggested adjustments, I decided to try my newly acquired color-blocking skills! I realized that if I cut the lower 2-3" of the hood (the part that attaches to the neck) in knit, the entire opening would now be stretchy.


After flipping the hood right-side out, I was ready to attach it to the bodice. Here is what it looked like after it was finished.
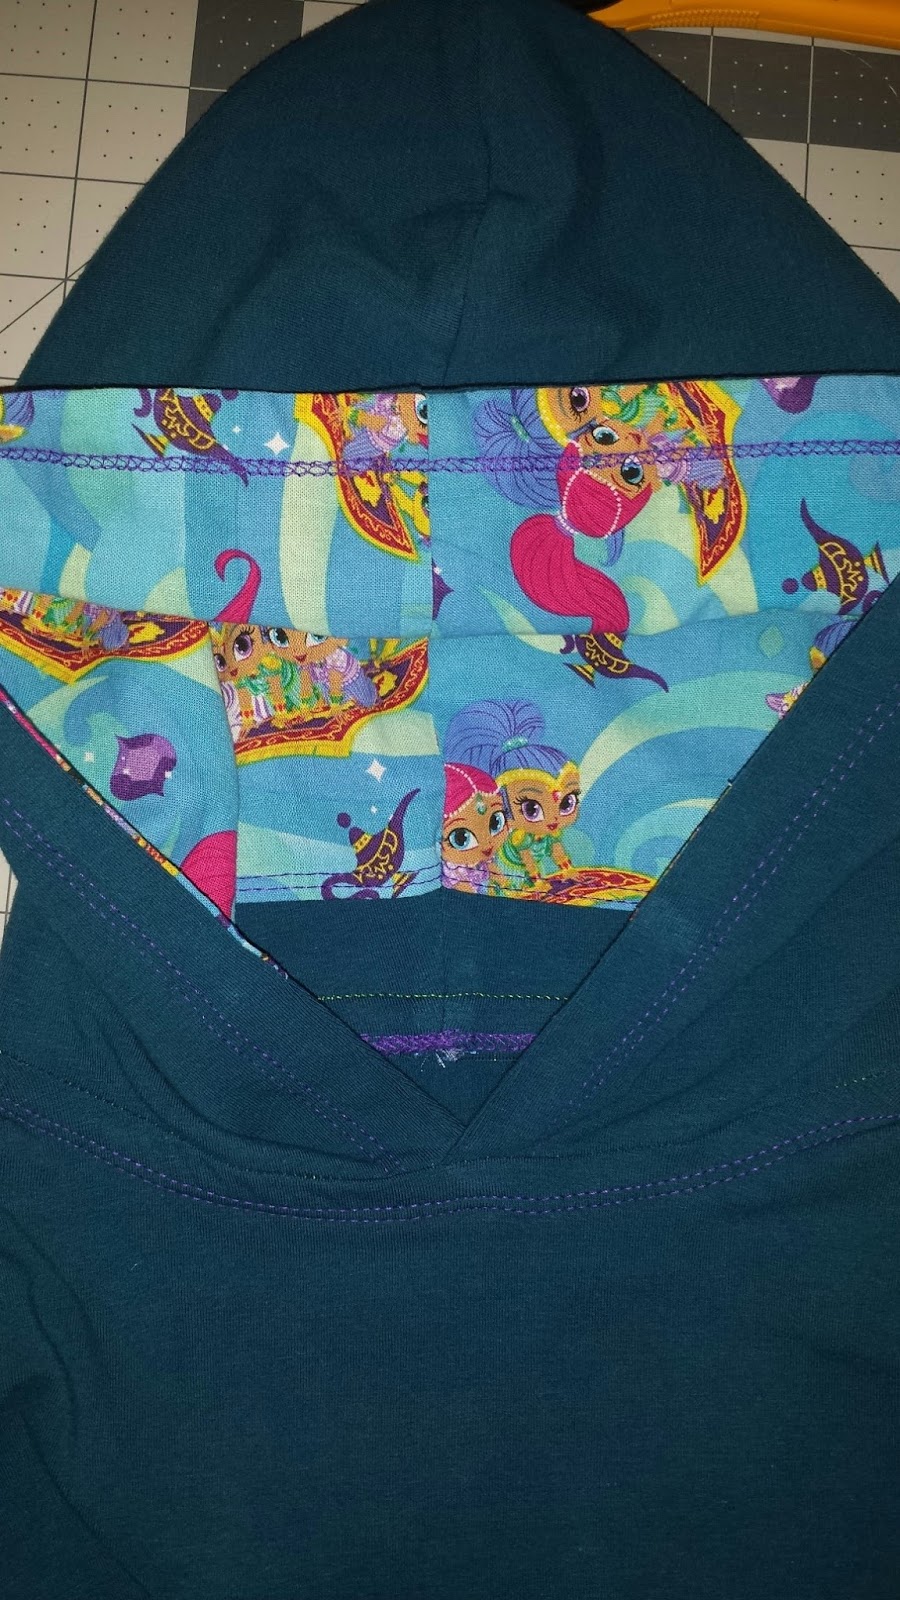


All of the fabric used for this dress is from Peek-a-Boo Fabric Shop. For the bodice, I used this dark teal cotton Lycra for the bodice, and the skirt (and hood lining!) are awesome Shimmer and Shine cotton wovens.
This post contains affiliate links.
Great idea!! I'm definitely going to use this hack. Thanks :)
ReplyDeleteAwesome idea and great post! Love the finished dress!
ReplyDelete